How to bypass false positive spam filtering
Purpose of this guide
Guide users on how to create a filter that will prevent genuine emails getting identified as spam in Murena webmail.
What are spam emails ?
Emails are an integral part of our lives. Every day most of us receive a large number of emails. Some of which are official, others from friends and relations but mostly just spam emails. Let us understand what constitute spam emails.
They are unsolicited, unwanted and usually bulk emails sent to a large group of recipients. Most email service providers filter out spam emails by blocking known spammer email addresses and domains. Murena email services also have inbuilt spam filters that block such habitual spammers.
What is a false positive?
In the process of identifying spammers, at times we block genuine email addresses or domains. This could happen due to past complaints about specific addresses and domains or it could be the result of a genuine error in our spam filters. The filters trigger what is known as a false positive and end up blocking a legitimate email.
Some of our users have complained of having missed out regular emails due to such false positives.
Step to configure your own filters
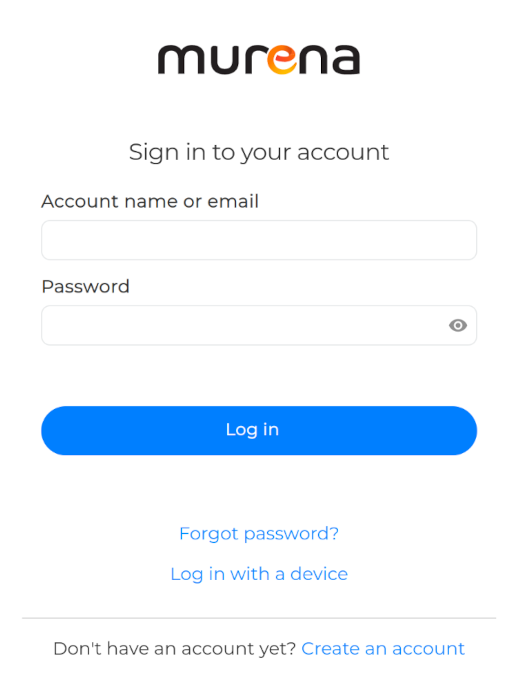
Login
- Login to your Murena Cloud account
Select the Mail app
- You should now be in your Murena dashboard. Here you will see icons of all the applications available in your account. Click on the Mail application icon. It will look like the screenshot below:
In Murena webmail dashboard
- Once in Murena Webmail, select the gear shaped icon on the lower right side of the left panel.
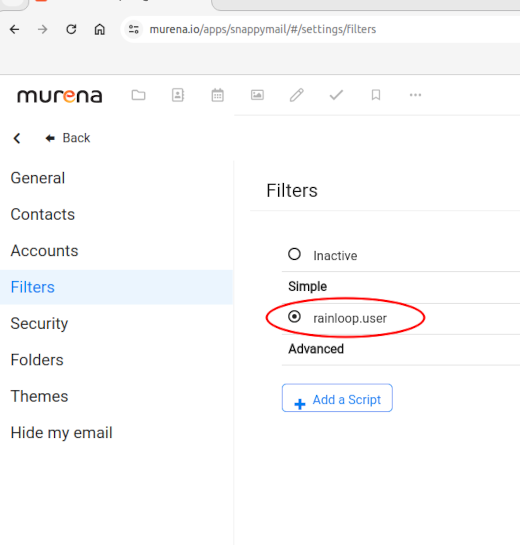
Access rainloop_user option
- Clicking the gear icon from the previous step will open up the screen as shown below. Select the
Filtersentry from the menu on the left. In the screen which opens up, click on therainloop_useroption:
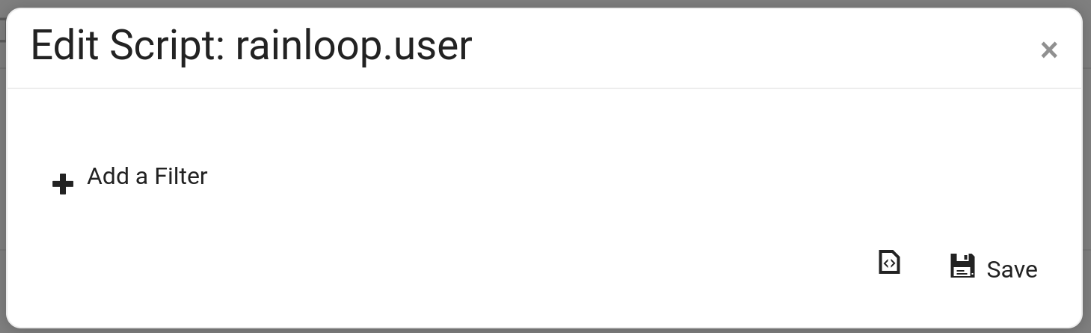
In the “Edit Script” popup
- Once the pop-up like the one on the screenshot below is open, click on
Add a Filter:
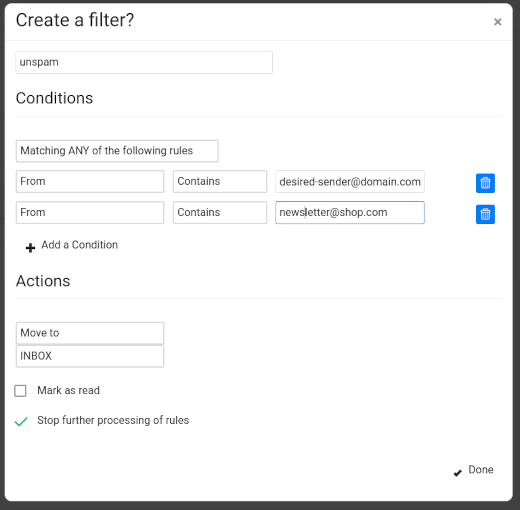
Configuring your filter
The click in the previous option, will open another pop-up as shown in the screenshot below. In this screen:
- Provide a name for the filter
- Set the conditions for the rule by clicking on
Add a condition. Here you specify the email address or domain you do not want to be categorized as spam. Be careful to useContainsand notEqual Toeven if you enter a specific email address. - Select the folder to which you want these emails to be moved e.g.
INBOX. - Ensure the
Stop further processing of rulesoption is checked. By default it should be which is the correct setting. Do not change it. - Click
Doneonce you have entered all the values. - This will close this screen
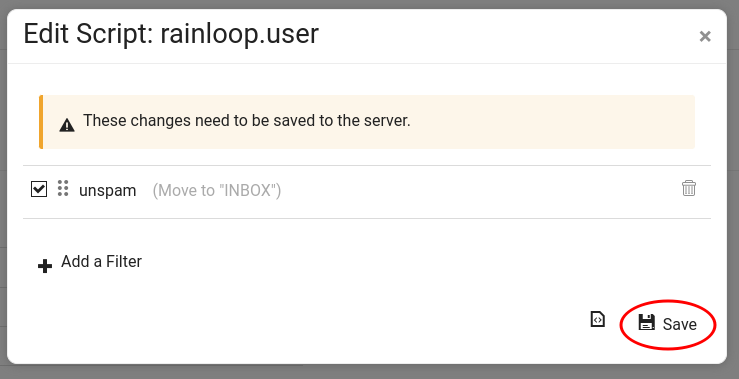
Saving the filter
- Now that we have created the filter, we need to save it on the server. This will preserve the filter across sessions.
- To save the filter click on the
Saveicon as shown in the screenshot below.
Congratulations! You have successfully setup a filter to bypass the marking of your desired emails as spam.